The “Sprite” Cowl Neck Sweater – Free Crochet Pattern
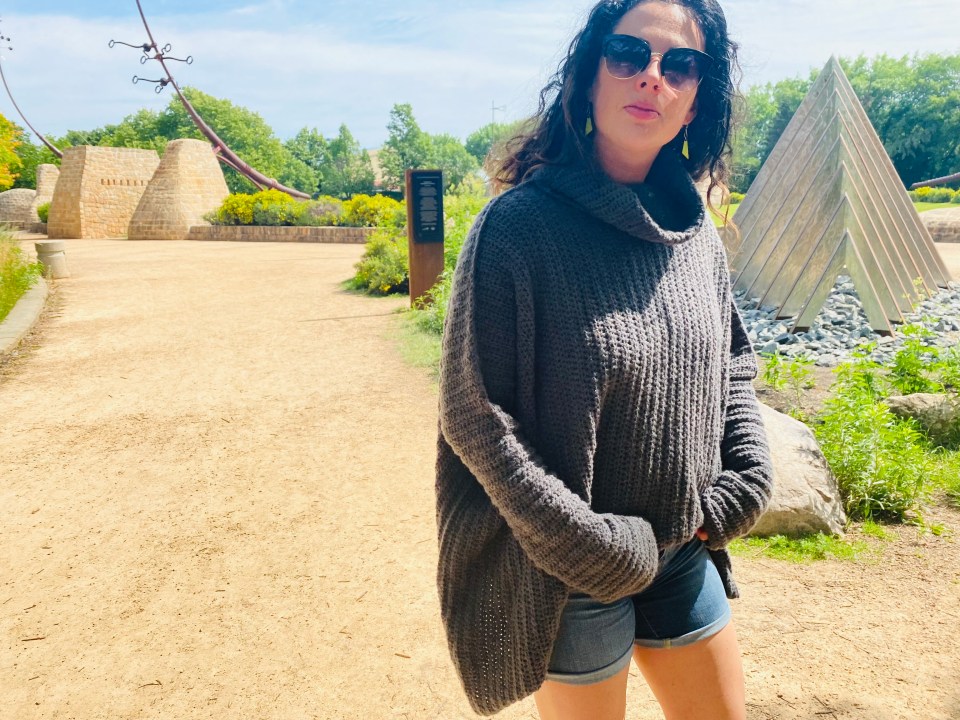
I first made this oversized sweater using Caron Cloud Cake yarn. This yarn is so soft and very easy to work with. However with the Caron Could Cakes being a limited availability I found a very similar yarn at Michales that worked perfect, Loops & Threads Baby Rainbow. You can always use any category 4 worsted weight yarn though for this project.
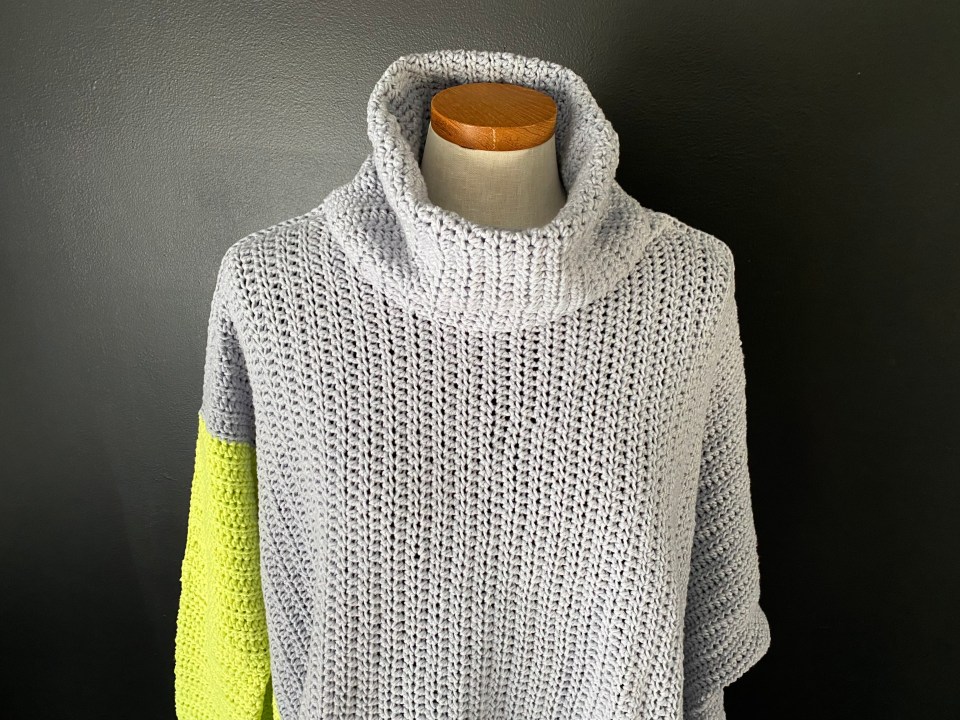
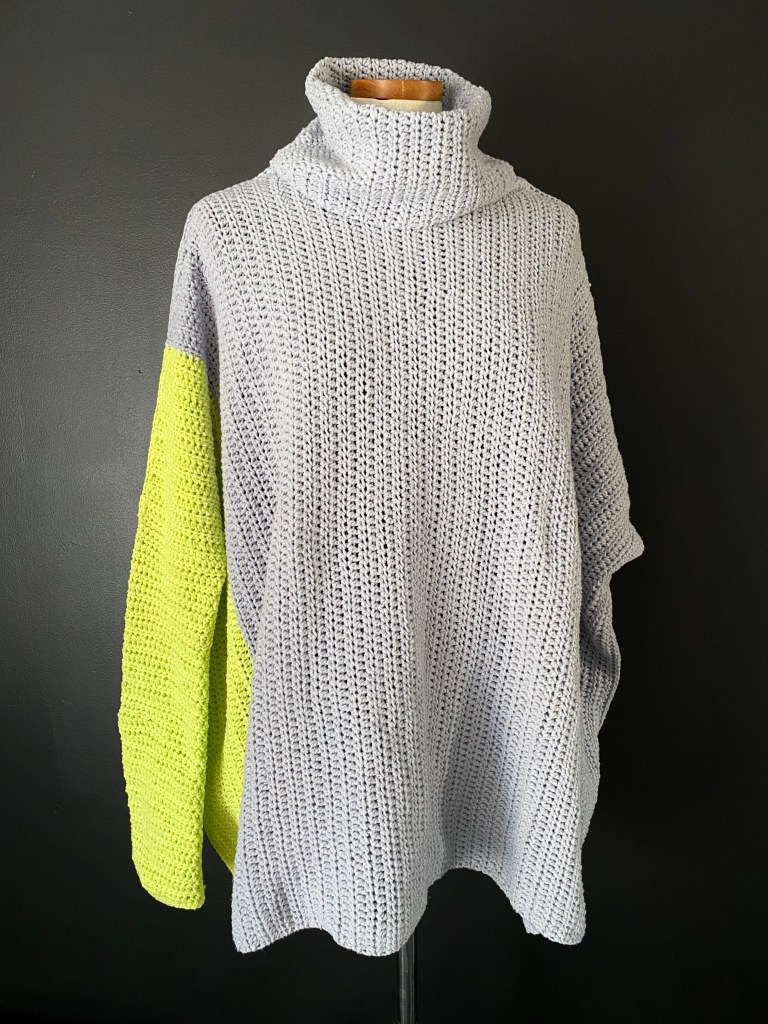
When I was perusing the Baby Rainbow yarn I was feeling like it needed a pop of colour so I picked up the nice bright Lime to go with Silver to create a colour blocked section. The pattern below includes how I did this.
When creating this sweater I wanted a very oversized body and somewhat fitted sleeves. The addition of the cowl neck gives this sweater a super cozy vibe.

Abbreviations
- ch = chain
- sl st = slip stitch
- st(s) = stitch(es)
- sc = single crochet
- hdc = half double crochet
Fit Tip: The body width of this sweater is adjustable all you need to do is add/remove rows before and after the cowl section. The width of the body should be from your elbow to elbow. You can then adjust the length of the sleeves depending on your preference.
Materials
- US H (5mm) hook
- 7 x Loops and Threads Baby Rainbow (100% polyester, worsted weight #4, 333 meters per skein)
- Pictures in the pattern are of the colour blocked option using this yarn, you can make a solid colour as well or any other option you would like.
- Silver Dollar: 1736 meters
- Lime: 455 meters
- Pictures in the pattern are of the colour blocked option using this yarn, you can make a solid colour as well or any other option you would like.
- Alternate yarn: 4 x Caron Cloud Cakes (100% polyester, worsted weight #4, 695 meters per skien)
- I used this yarn in the dark grey solid colour version of this pattern shown above.

Notes
- pattern in US terms
- ch 1 at the beginning of each row does not count as a stitch
- this top is made in two pieces, the neck and shoulders are seamed then the sides are seamed with the sleeves added afterwards
- gauge: 4” x 4” = 15 sts by 12 rows
Colour Changes
- Body:
- Row 1 – 20: Lime
- Row 21 – 112: Silver Dollar
- Sleeves:
- The sleeve that attaches to the Lime colour section is Lime, the other is Silver Dollar
- Seams
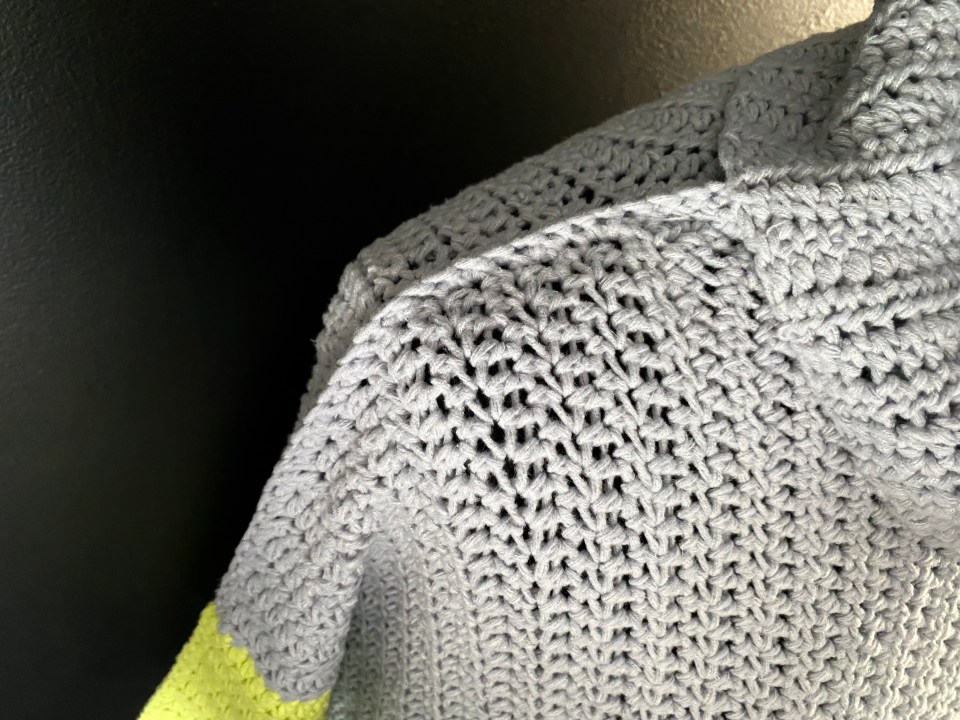
- When seaming up the sides/shoulder I used the corresponding colour to complete the colour blocking look
Pattern
Body
Make 2
Row 1: ch 101, hdc in second ch and across, turn (100 sts)
Row 2 – 40: ch 1, hdc in each st across, turn (100 sts)
Row 41: ch 46, hdc in second ch and across, turn (145 sts) (this creates the cowl neck)
Row 42-71: ch 1, hdc in each st across, turn (145 sts)
Row 72: ch 1, hdc in next 100 sts, turn (100 sts)
Row 73-112: ch 1, hdc in each st across, turn (100 sts)
Lay both pieces on top of each other. If making the colour blocked option match up the same colours together.

Shoulder/Neck Seam
I used the sc stitch when seaming to create a unique ridge detail along the shoulders and sides of the sweater.
Attach yarn to the top right corner (shoulder).
Sc through both the front and back body sts across the top of the shoulder and up the side of the neck/cowl.
Cut yarn, weave in ends.
Tip: If making the colour blocked option, change colours when seaming the next colour.

Attach yarn to the opposite side of the neck/cowl at the top.
Sc through both the front and back body sts down the neck and across the other shoulder.
Cut yarn, weave in ends.

Side Seam
Working up the side of body attach the yarn to the bottom corner, ch 1, sc in each st for 80 sts (80 sts)

Tip: You can adjust the width of the sleeve opening by adding or removing side seam sc.
Do not cut yarn, you will now create the sleeve.
Sleeve
Round 1: ch 1, hdc in each st around, sl st to first hdc, turn (40 sts)
Tip: To make sure the sleeves fit, at this point stick your arm through the the sleeve hole. If its to tight you can undo the side seam a few stitches and then continue with the sleeve.

Round 2 – 44: ch 1, hdc in each st around, sl st to first hdc, turn (40 sts)
Round 45: ch 1, sl st in each st around (40 sts)
Attach yarn to the bottom of the other side and repeat the Side Seam and Sleeve instructions.
Cut yarn, weave in ends.

Disclaimer
Please do not reprint or repost this pattern. You can share the link to this page to share this pattern with others. You can sell items made from this pattern online and at local craft shows, please credit iHooked as the designer by adding a link to this website.


